These chicken tacos are absolutely delicious and have the added bonus of feeding my cilantro addiction. That said, if you are one of those people who can smell cilantro at a hundred yards and immediately turn around - don't fret! The cilantro in this recipe can be replaced with parsley or basil. While it will not taste exactly the same as cilantro (which of course is the point) - it will still be delicious!
The recipe is originally from America's Test Kitchen "Light and Healthy" cookbook. ATK puts out a Light and Healthy cookbook every year where they round up different popular and favorite recipes and make healthier versions of them.
Ingredients:
1 t canola oil
4 cloves garlic, minced
1 T Chipotle Tabasco sauce (chipotle en adobo sauce can be used as well)
1/2 cup orange juice (I use fresh squeeze orange juice)
1 T Worcestershire sauce
3/4 cup cilantro, chopped
1 1/2 pound chicken breast
-- since I'm lazy, I used a rotisserie chicken and shredded it first, no extra cooking required!
1 t yellow mustard
6 tortillas
1 avocado, cubed
Extra cilantro for garnish
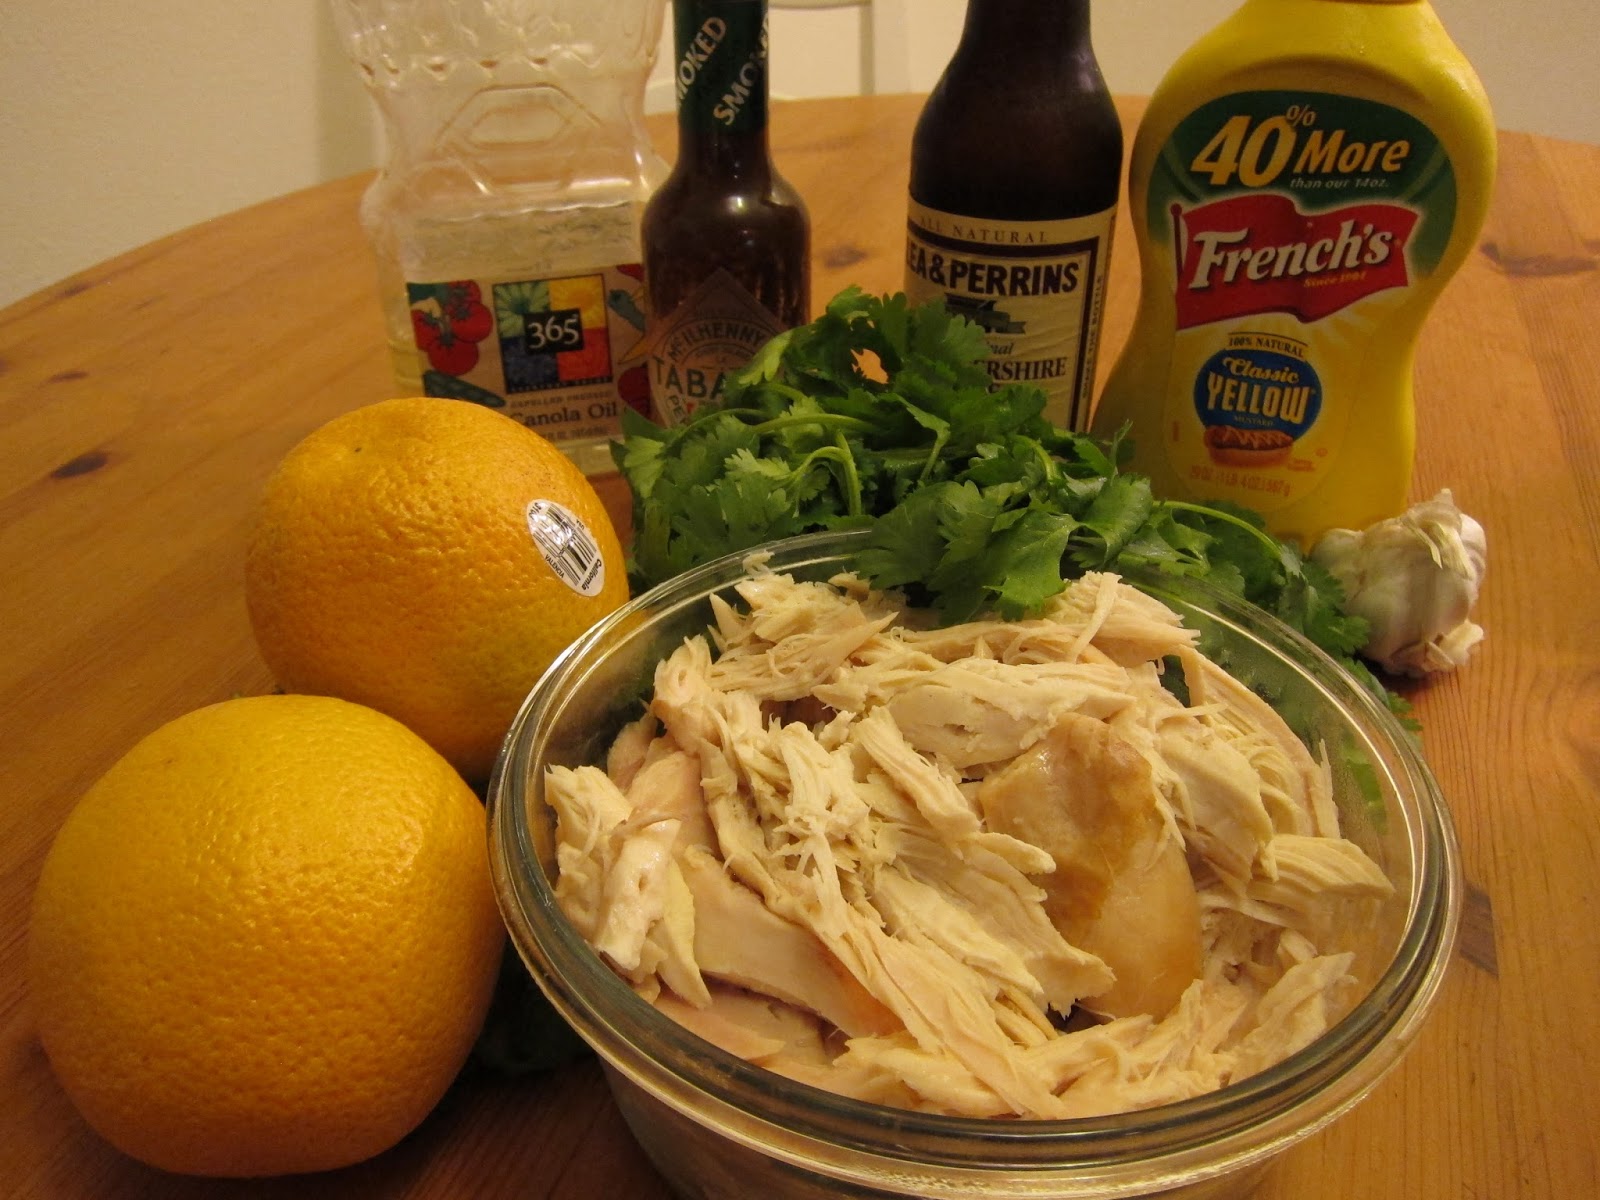 |
| Ingredients for chicken tacos - simple yet flavorful! |
1. Heat canola oil in a medium to large sauce pan over medium heat
2. Add minced garlic and chipotle sauce to oil
3. Saute until garlic is fragrant - about 30 seconds
4. Add orange juice, Worcestershire sauce, and 1/2 cup cilantro to pan
5. (a) If using raw chicken breasts - nestle in sauce and reduce heat to medium low
5. (b) If using cooked chicken - shred first, add to pan and reduce heat to medium low
6. (a) Cook for 15 - 20 minutes until chicken is cooked through, flip chicken at halfway through time
6. (b) Slowly fold chicken into sauce ensuring all is coated, cook on low heat until heated through and flavors combine - about 5 minutes
7. Remove chicken from sauce and set aside (if you cooked the chicken - now is the time to shred it!)
8. Continue to simmer sauce, uncovered, until it reduces to approximately 1/4 cup
9. Remove from heat and add mustard, whisk to combine
10. Sprinkle remaining 1/4 cup cilantro into sauce
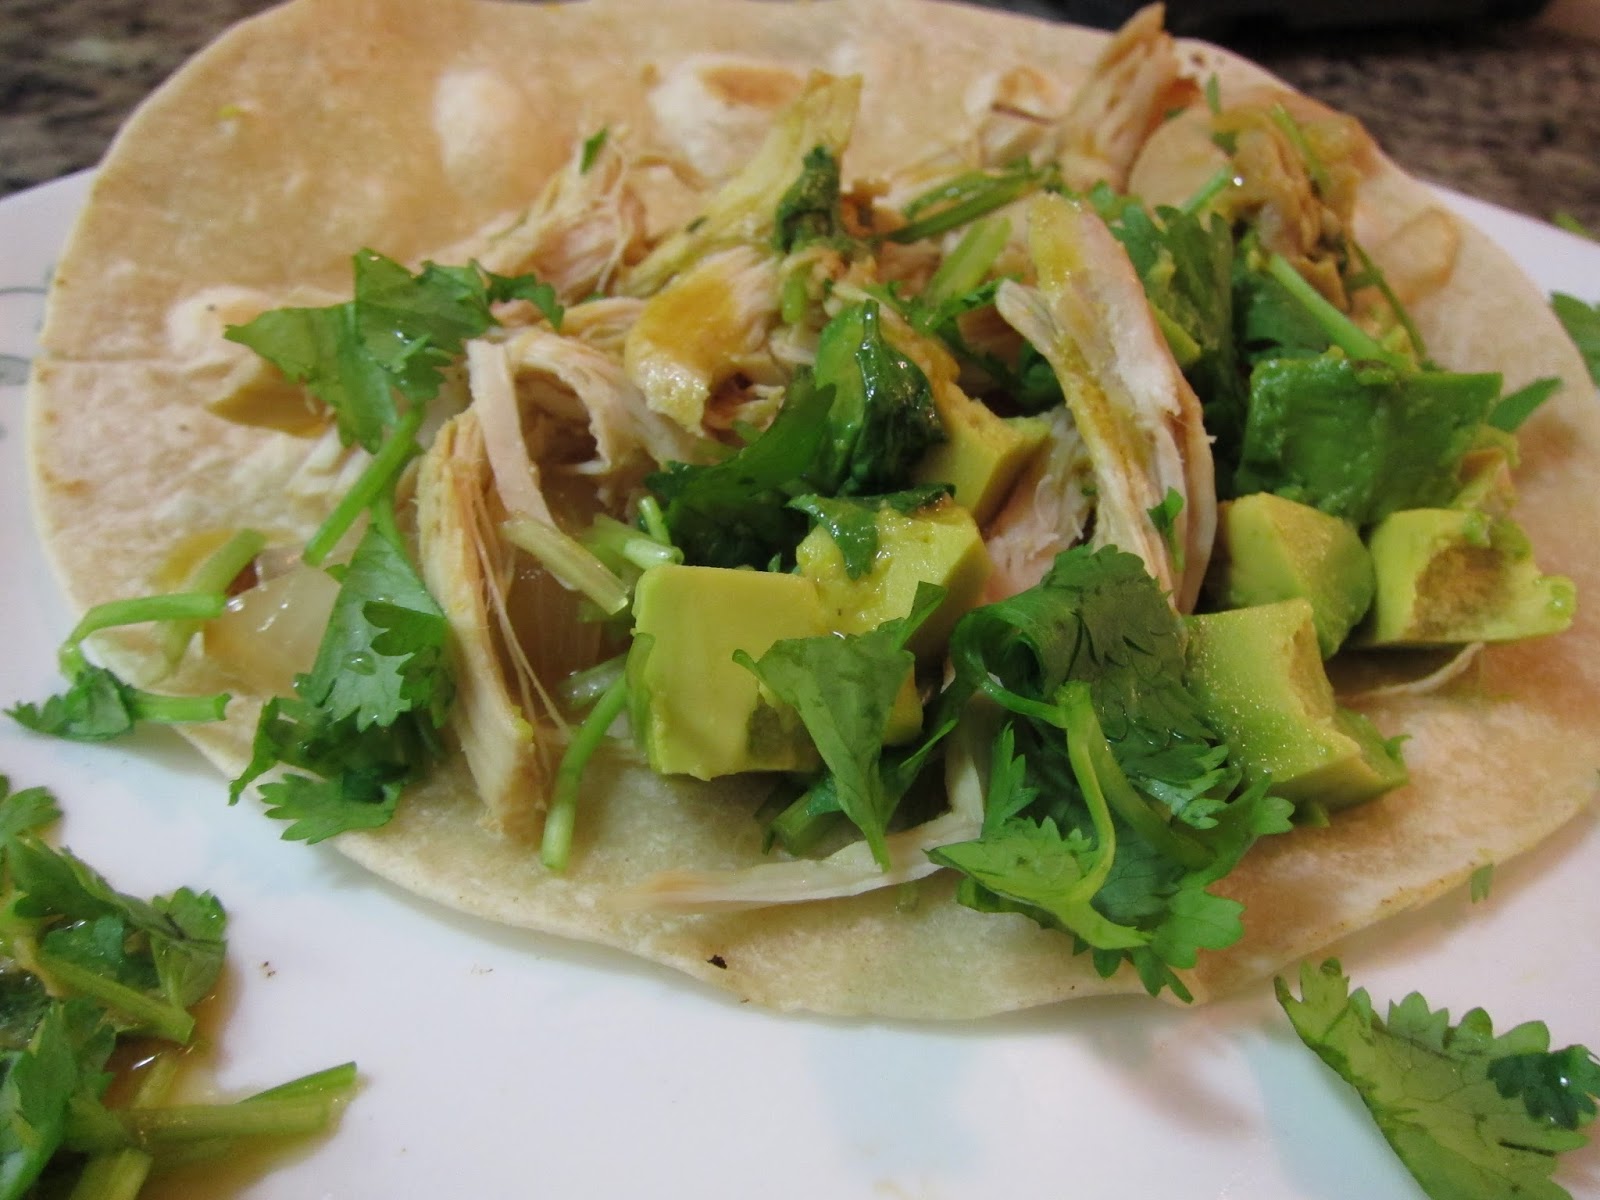
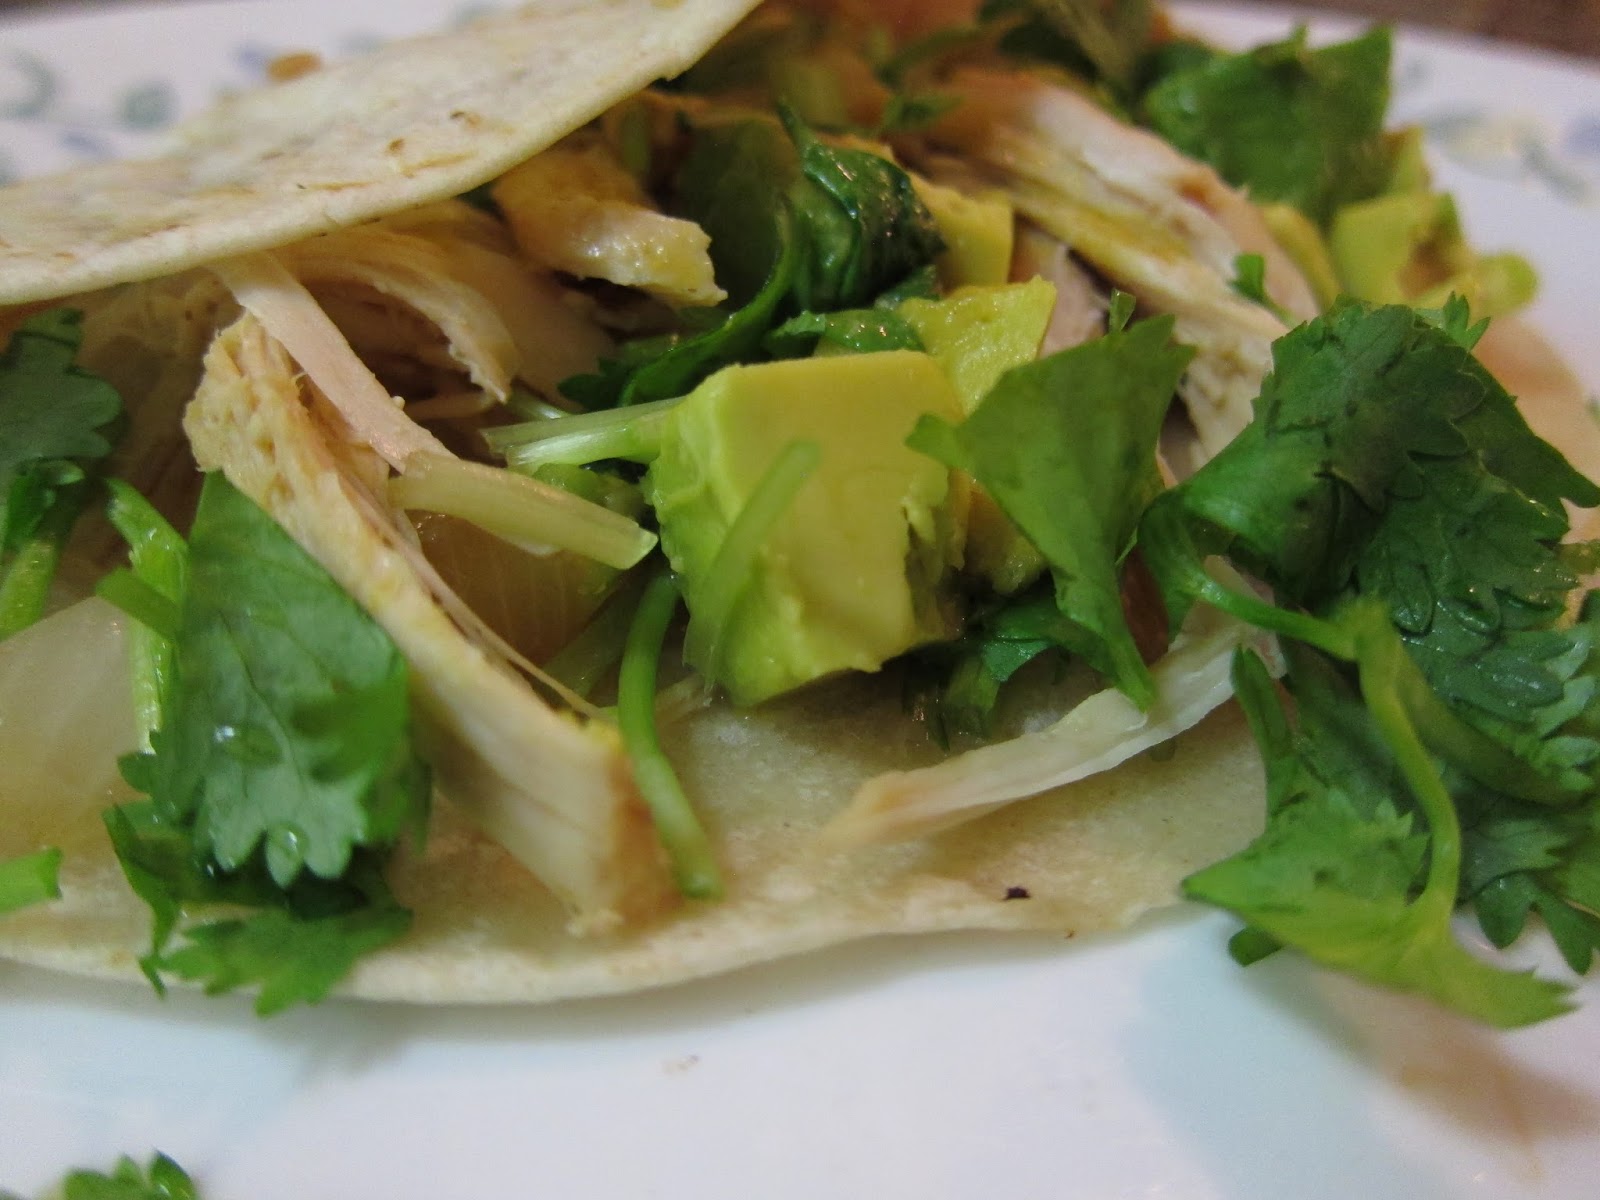
11. Place 1/6 of chicken on tortilla, top with sauce, adding cilantro and avocado on top - and you're done! Except for the eating part! ;o)
12. If you're feeling fancy and haven't just given in to the aromas begging you to eat your meal, saute some onions and peppers to go with your taco or add some beans (refried, black, or pinto) to round out the meal.
 |
| Chicken taco ready to be devoured! I added sauteed onions to this one. |
 |
| Chicken taco recipe in its original form can be found in this cookbook. |

